Attaching lattice to a fence can greatly enhance both its privacy and visual appeal, but it’s not just a matter of hammering a few nails. You’ll need to carefully plan your design, gather the right materials, and prepare your existing fence.
Have you thought about the best type of lattice for your specific needs or how to guarantee a seamless fit? There are also important steps to take in reinforcing and staining the lattice for longevity and aesthetic charm.
By following a few key guidelines, you can transform your fence into a stylish and functional feature of your yard.
Lattice vs. Trellis: Choosing Your Fence’s Perfect Partner
When you’re enhancing a fence, understanding the difference between lattice and trellis is essential.
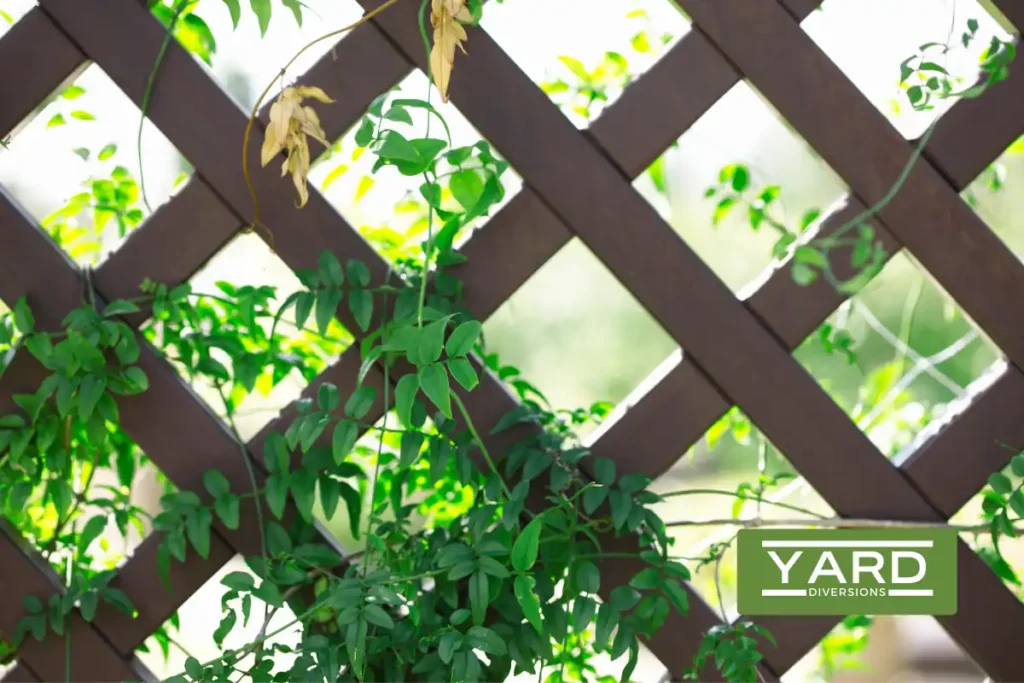
Imagine the lattice: a flat, crisscross pattern of wood or plastic, perfect for adding privacy and detailed visual charm. You can almost feel the texture under your fingertips, envisioning it as a backdrop for your garden sanctuary.
Picture the trellis in contrast: an intersecting framework of wood or metal, standing tall and proud, ready to support climbing plants as they weave and twist. The trellis transforms your space into a lush, green paradise.
Whether you’re aiming for privacy with lattice or creating a living wall with trellis, knowing their distinct characteristics will guide your choice, enhancing your fence with purpose and beauty.
Design Your Dream Fence: Planning Lattice Integration
Before you begin attaching lattice to your fence, immerse yourself in the thrill of planning your design. Assess the structure of your fence, choosing lattice material that will withstand the elements and enhance your space.
Measure and mark with great attention to detail, ensuring every inch aligns perfectly to transform your vision into reality.
Assess Fence Structure
First, verify the stability and strength of your existing fence to make sure it can support the added weight of lattice panels. Feel the fence posts, press against them, check for any signs of weakness or rotting. Imagine the wind howling, shaking the fence—will it hold?
Examine the spacing between the fence posts, envisioning the lattice panels fitting snugly. Stand back, take a breath, and visualize the seamless integration of lattice with the existing fence. The fence’s height and the material must be compatible; the method you choose to attach the lattice depends on this.
Each post, each plank, must work together in harmony, creating a structure that’s both beautiful and strong. Your fence should stand proud, ready for its new adornment.
Choose Lattice Material
Selecting the right lattice material involves balancing durability, aesthetics, and compatibility with your fence. Imagine the elegance of cedar or redwood lattice panels, their warm hues blending seamlessly with your backyard. These materials are not just beautiful; they’re tough, resisting rot like seasoned warriors. For a custom fit, craft your lattice using a table saw, ensuring each strip is precise and consistent. Choose closed weave panels for added privacy, and contemplate reinforcing with shade sail backing fabric for unmatched durability. With the right choices, your fence will transform into a stunning, enduring masterpiece.
| Material | Key Features |
|---|---|
| Cedar | Durable, rot-resistant |
| Redwood | Aesthetic, long-lasting |
| Closed Weave | Increased privacy, stylish |
| Custom-made | Exact fit, personal touch |
| Shade Sail Fabric | Added durability, strength |
Measure and Mark
Measuring the height and width of your fence guarantees each lattice panel fits perfectly and aligns seamlessly. Picture the satisfaction as you see your privacy lattice blend effortlessly with the existing structure.
Start by marking where each panel will go, ensuring even spacing and alignment. Visualize the lattice, its material, and color enhancing your fence’s beauty. Note any obstacles that might challenge installation, like tree branches or uneven ground.
The anticipation builds as you plan how to attach the lattice – screws, nails, or brackets? Each method has its merits, promising security and stability.
As you prepare, imagine the transformation – your fence evolving into a harmonious blend of privacy and style, an inviting and secluded sanctuary.
Gathering Necessary Materials
To get started, gather lattice panels, wood for framing, metal brackets, screws, and any additional support hardware you’ll need to attach the lattice to your fence.
Picture yourself standing at the top of a ladder, envisioning the added height and privacy the lattice will provide.
Choose wood or plastic lattice panels that match your fence’s dimensions.
Craft a sturdy frame using 1x4s or 2x4s with grooves to cradle the lattice securely.
Metal L-shaped brackets and screws will be your allies, connecting the lattice effortlessly to the frame and your fence posts.
Make sure a snug fit by securing the panels with screws or nails, and add diagonal supports to brace against fierce winds, fortifying your privacy with every step.
Preparing the Fence
With all your materials in hand, make sure your fence is prepared to bear the additional weight and aesthetic of the lattice. Start by measuring the height and width of your fence to determine the right lattice size.
Check each fence board and existing post, ensuring they’re sturdy enough. Feel the solid wood under your hands, any loose boards must be fixed. Clear away debris, brush off the dust, and make your fence surface pristine. Think about staining or painting it now—imagine the seamless look you’ll achieve.
Your tools will be your allies: screws, nails, and a level. Each step you take, every detail you attend to, brings you closer to transforming your ordinary fence into an extraordinary vision.
Cutting and Staining Lattice
Accurately cutting the lattice to size guarantees it fits perfectly on your fence, enhancing both its durability and appearance.
Imagine the thrill of seeing your lattice seamlessly align with the fence, a vital addition to your yard’s aesthetic.
Start by cutting lattice panels carefully, ensuring precision for the best fit. Then, move to staining lattice; this step is essential for protection and visual appeal.
Sand the lattice first, creating a smooth surface ready to absorb the stain. Use a foam brush for an even coat, avoiding drips or streaks.
Lay the panels flat, giving you better control and coverage. Feel the satisfaction of transforming wood into a stunning, durable feature, ready to enhance your outdoor space.
Lattice Installation: From Measurement to Masterpiece
Attaching lattice panels to your fence can be an exciting project that transforms your space, but you need to start with precise measurements and cuts.
Secure the panels firmly with nails or screws, making sure each piece fits snugly within a sturdy wood frame to keep everything tight and seamless.
Finish with careful touches like diagonal supports to prevent any bending or warping, ensuring your lattice not just looks great but stands the test of time.
Measuring and Cutting Lattice
To start, measure the width and height of the fence section where you plan to attach the lattice panels. Feel the excitement build as you grasp your measuring tape, envisioning the lattice on top, crowned by a trim piece. Your precision must be exact. Cut the lattice slightly smaller to account for expansion and contraction, ensuring a snug fit. Double-check every number, every inch, for accuracy is your ally. With every saw stroke, you carve a piece of your dream, transforming raw material into art.
| Step | Tool | Action |
|---|---|---|
| 1 | Measuring Tape | Measure width and height |
| 2 | Saw | Cut lattice panels |
| 3 | Ruler | Double-check measurements |
| 4 | Trim Piece | Fit lattice on top |
This thorough preparation lays the foundation for your masterpiece.
Securing Lattice Panels
Building a sturdy wood frame with slats is your first step to securely attaching the lattice panels to the fence.
Imagine the anticipation, the hammer’s rhythm, the scent of fresh-cut wood filling the air.
As you add lattice to your wood fence, the frame becomes the backbone, holding everything steady.
Drive screws or nails through the lattice into the frame, each one a promise of stability.
For added fortitude, contemplate diagonal supports—they’re the unsung heroes against wind and weight.
Every joint needs to fit tightly, a precise embrace preventing any warping or bending.
As you secure the lattice to the existing fence, step back and admire the transformation.
Your fence is now a canvas of enhanced privacy and aesthetic charm.
Finishing Touches Tips
With your lattice panels securely in place, it’s time to focus on those finishing touches that make all the difference. At the top of the fence, cap moulding provides a polished look, seamlessly blending the lattice with the fence. Proper height alignment ensures uniformity, creating a cohesive visual. Use divider moulding between panels for a crisp finish. Consider planting fast-growing evergreens around the base to create a lush backdrop and provide extra privacy. Leave enough plants room for growth. Secure the lattice with metal L-shaped brackets and screws for added wind resistance.
| Step | Material | Benefit |
|---|---|---|
| Top of the fence | Cap moulding | Polished appearance |
| Height alignment | Measuring tape | Uniform look |
| Panel connection | Divider moulding | Clean finish |
| Wind support | L-shaped brackets, screws | Increased stability |
| Plants room | Fast-growing evergreens | Enhanced privacy and beauty |
Beyond Basics: Staining, Trim & Decorative Touches
Secure the top trim boards to the lattice panels using ¾ stainless steel brad nails for both durability and stability.
Feel the excitement as you align the trim with the top rail, creating a seamless blend between the lattice panel and the top of your fence.
Begin by assembling the lattice panels on the ground, ensuring each intersection is perfectly aligned.
The stainless steel brad nails will pierce through the trim and lattice, locking them together.
As you press the trim against the lattice intersections, you’ll sense the tension dissipating, knowing it’s secure.
Adding Decorative Elements
By envisioning this scenario, you can transform your plain fence into a stylish and elegant feature of your outdoor space. Imagine a beautifully crafted lattice panel, gracefully attached to your fence, instantly enhancing its aesthetic appeal.
The detailed design of the lattice not just adds a touch of elegance but also provides much-desired privacy. Picture the top trellis adorned with climbing vines, weaving through the lattice, creating a lush, natural screen. This personalized touch makes your fence more than just a boundary; it becomes a statement piece.
Whether you’re aiming for a rustic charm or a modern look, adding decorative lattice panels ensures your fence catches the eye, offering both beauty and function.
Preserving Your Lattice-Enhanced Fence
To keep your beautifully crafted lattice panels looking their best, regular maintenance and care are key. Begin with frequent inspections; search for any signs of damage, warping, or loose attachments.
Cleaning your lattice panels periodically with a mild detergent and water removes dirt and debris, preserving their charm. Repainting or restaining the lattice is essential to fend off weathering and prolong its life.
Don’t forget to trim any plants growing on the lattice to prevent them from adding excessive weight, safeguarding the structure’s stability. If you find any loose pieces, secure them immediately to avoid further damage or potential hazards.
These maintenance steps will keep your fence and lattice in top condition, ensuring they remain a striking feature in your yard.
Conclusion
By attaching lattice to your fence, you’ve transformed a simple barrier into a stunning, private oasis. The detailed lines of the lattice, framed by carefully stained wood, create a harmony of elegance and function. Each nail driven, each panel placed, brings you closer to a sanctuary of beauty and seclusion.
Now, as the sun filters through the ornate patterns, you can relish the artistry and craftsmanship you’ve embedded into your personal haven.
